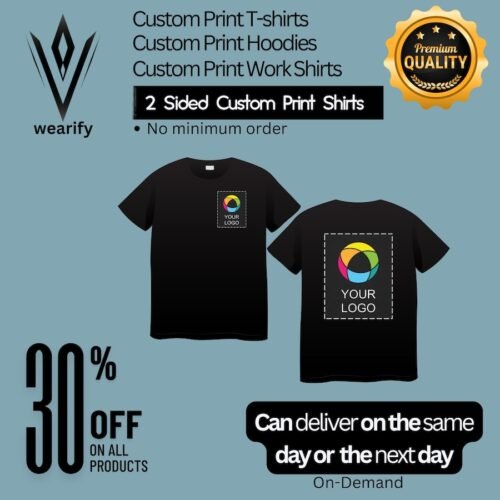
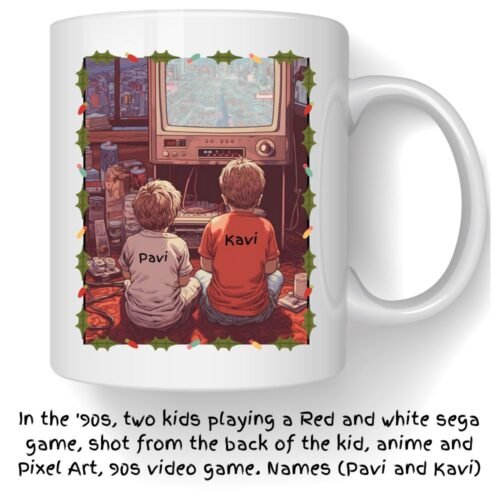
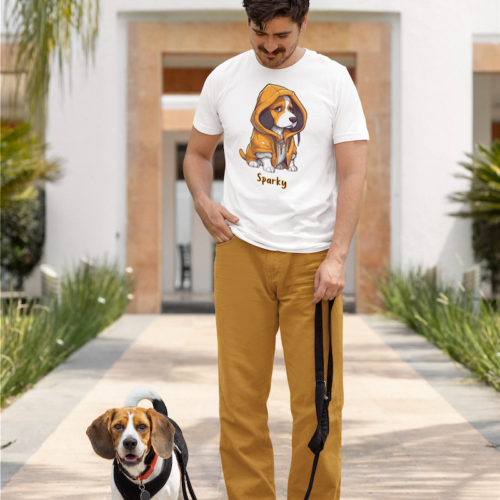
Introduction: Creating custom products is a fun and creative way to express your unique style and personality. Wearify.com.au offers a convenient platform to design custom mugs, custom t-shirts, and custom tote bags. In this tutorial, we will walk you through the process of creating a custom t-shirt, but the same principles apply to other custom products on Wearify. Follow these steps to design and order your personalized item.
Step 1: Visit Wearify.com.au
Start by visiting Wearify.com.au. Navigate to the “Custom with AI” section in the menu.
Step 2: Choose Your Custom Product
In the “Custom with AI” section, you’ll find a selection of custom products. You can choose from Custom Mugs, Custom T-Shirts, or Custom Tote Bags. For this tutorial, we will select “Custom T-Shirt – My Design.“
Step 3: Avoid Directly Adding to Cart
Important note: Before getting too excited and clicking “Add to Cart,” let’s avoid this step for now. Trying to add to cart directly at this stage might result in an error.
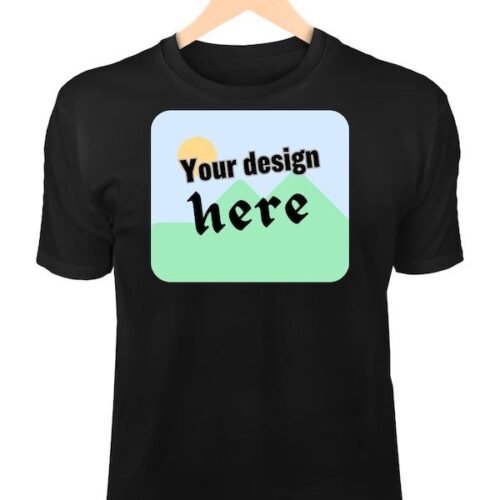
Step 4: Prepare Your Image
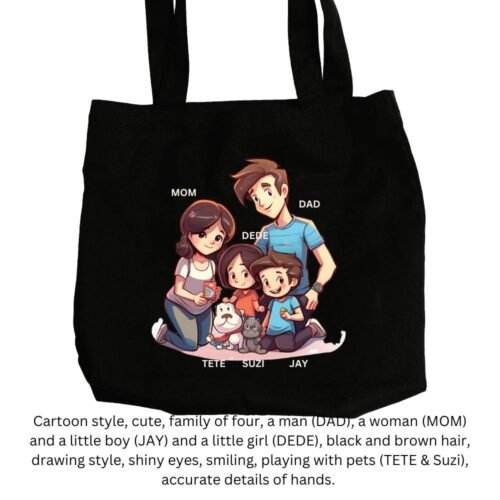
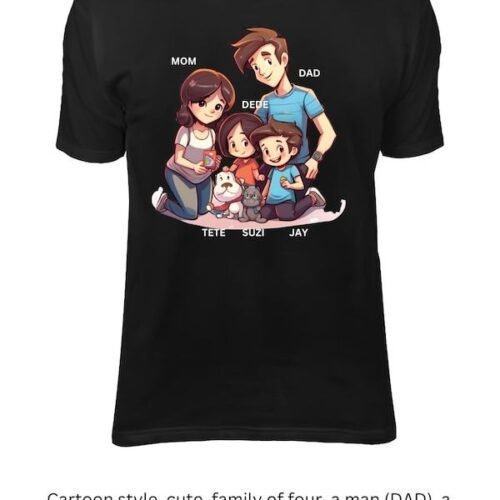
To create your custom design, you’ll need an image. For the best results, use an image with a good resolution. We recommend dimensions of around 2000 pixels by 2400 pixels. Make sure your image reflects your personal style and message.
Step 5: Customise Your Product
Choose your desired size, color, and quantity for your custom t-shirt. This step allows you to tailor your product to your specific preferences.
Step 6: Add to Cart
Now that you’ve customised your product, it’s time to add it to your cart. Click the “Add to Cart” button to save your personalised t-shirt.
Step 7: Proceed to Checkout
With your custom product in the cart, it’s time to finalise your order. Click “Checkout” to proceed.
Step 8: Fill in Your Details
Provide the necessary details for shipping and billing. Make sure to double-check your information for accuracy. This ensures your custom product reaches you without any issues.
Step 9: Make the Payment
Complete the payment process by choosing your preferred payment method. Once your payment is successful, you will receive an email confirmation and an invoice for your order.
Conclusion: Creating custom products with Wearify.com.au is a fantastic way to showcase your individuality. By following this step-by-step guide, you can easily design and order your personalized items, whether it’s a custom t-shirt, custom mug, or custom tote bag. Enjoy your unique creations and wear or use them with pride!
Visit Wearify.com.au today to start designing your one-of-a-kind products and make a bold statement with your style and creativity.
 Quick ViewRead more